

1. Add a project
Click Add a project in Get started and pick the project’s folder. ShadowGit takes its first snapshot at once, and the step says so: First snapshot saved, with the project’s name and how many files it holds.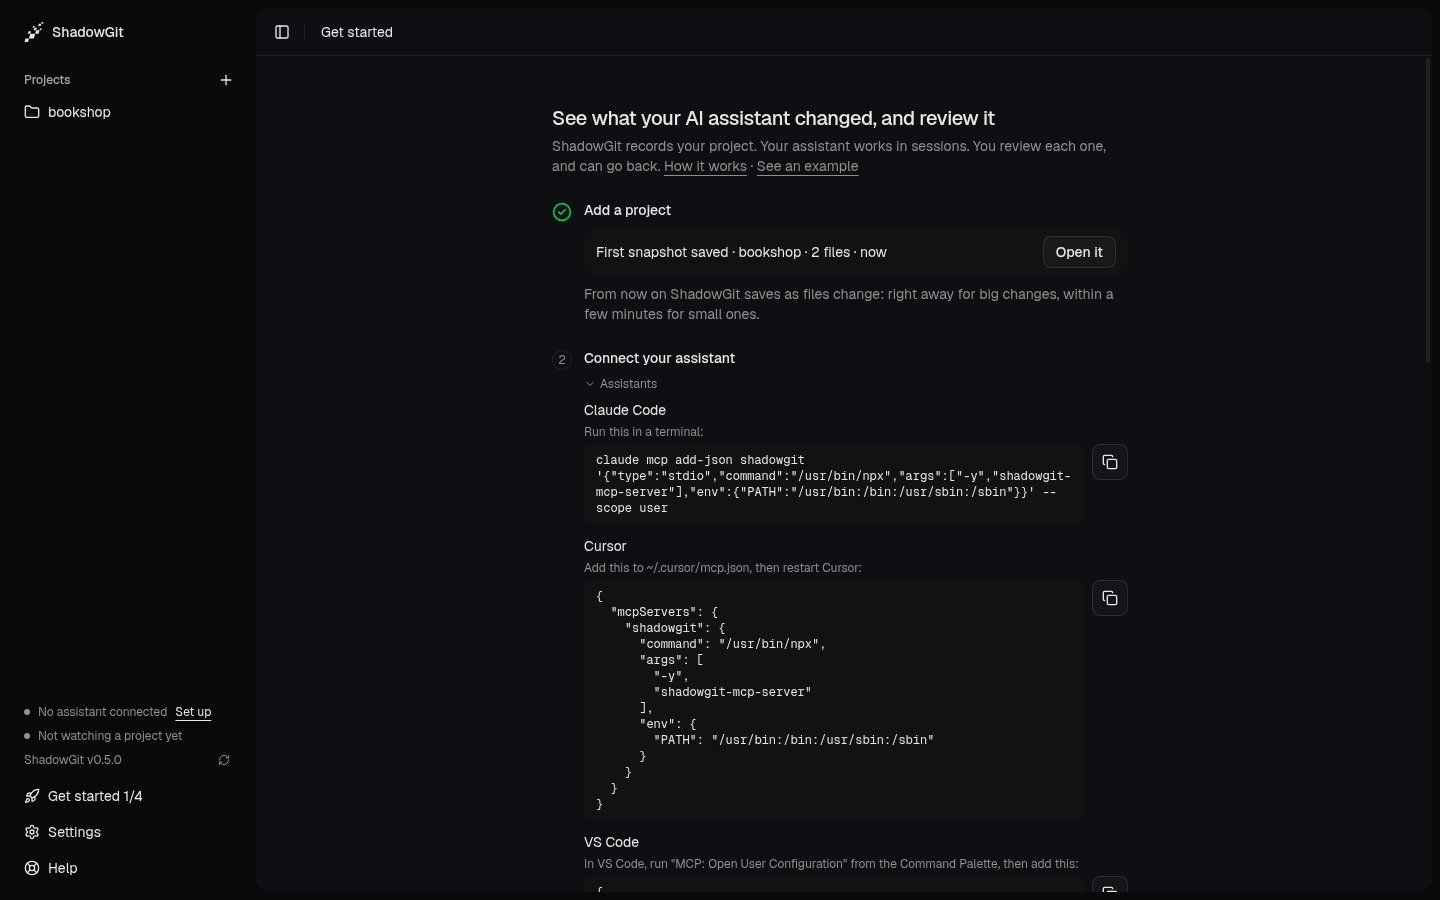
The first snapshot, saved as the project was added
2. Connect your assistant
Step 2 lists the assistants on your computer, each with Connect. Click it. Some assistants want a restart before they see ShadowGit, and the row says so. The other assistants are under Other assistants, with what to add to their config by hand. See Installation for every setup. The step ticks the first time your assistant reaches ShadowGit. Its row then reads Connected, with the version of ShadowGit’s MCP server it runs.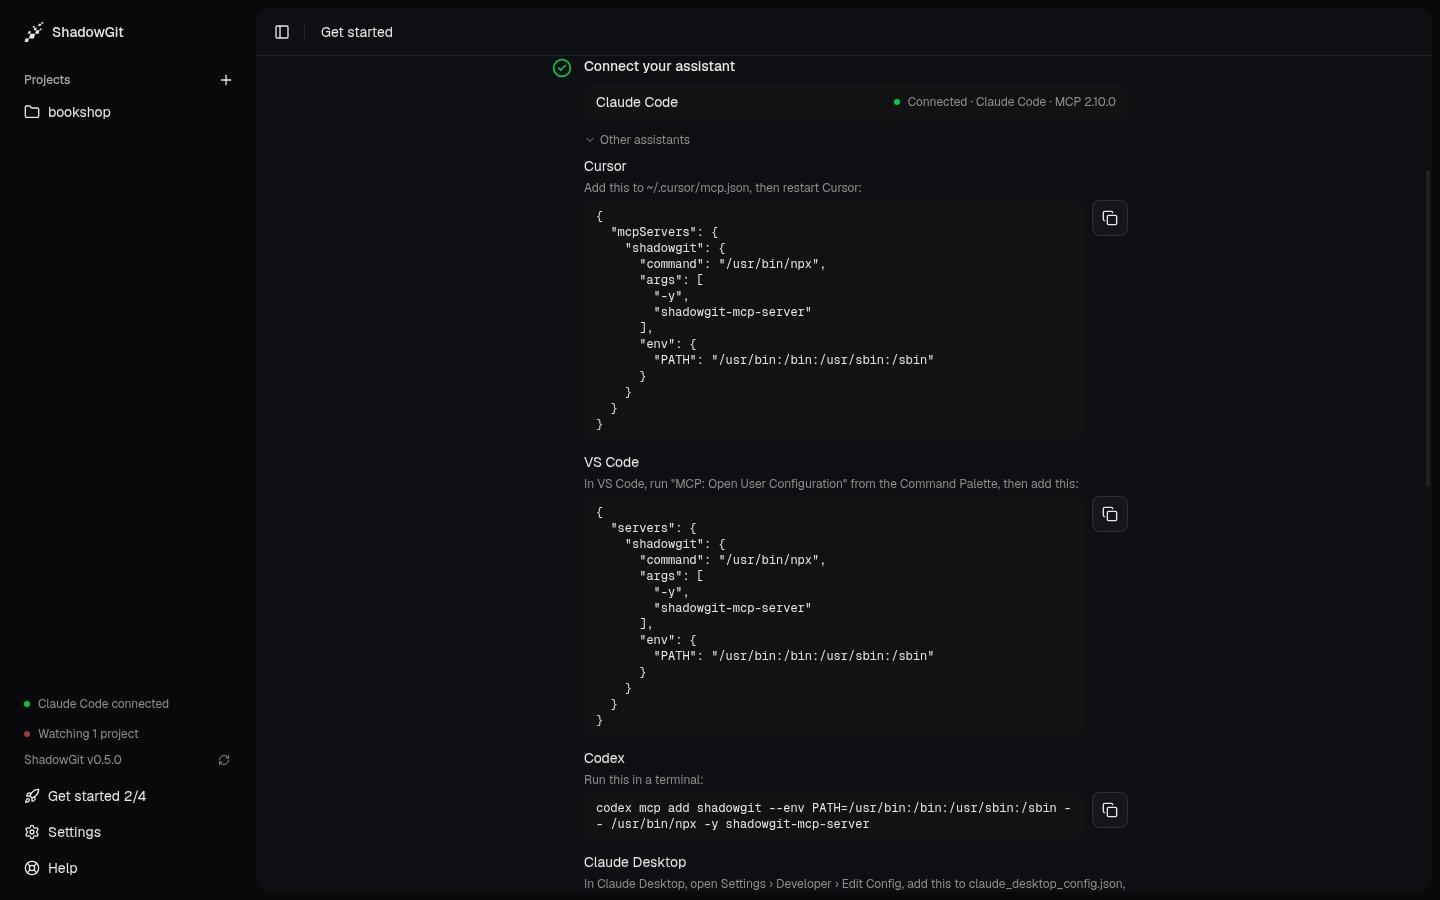
Claude Code, connected, with its MCP server's version
3. Start a session
Step 3 gives a small first task for your project. It asks your assistant to start a ShadowGit session, read the project’s map, and add a short comment at the top of the files that matter most. That’s a change that is easy to review, and easy to go back on. Copy it and send it to your assistant. With Claude Code on your computer, Open in Claude Code opens it in your project with the task typed in, for you to send. Or give your assistant a real task instead: any session in the project shows up the same way.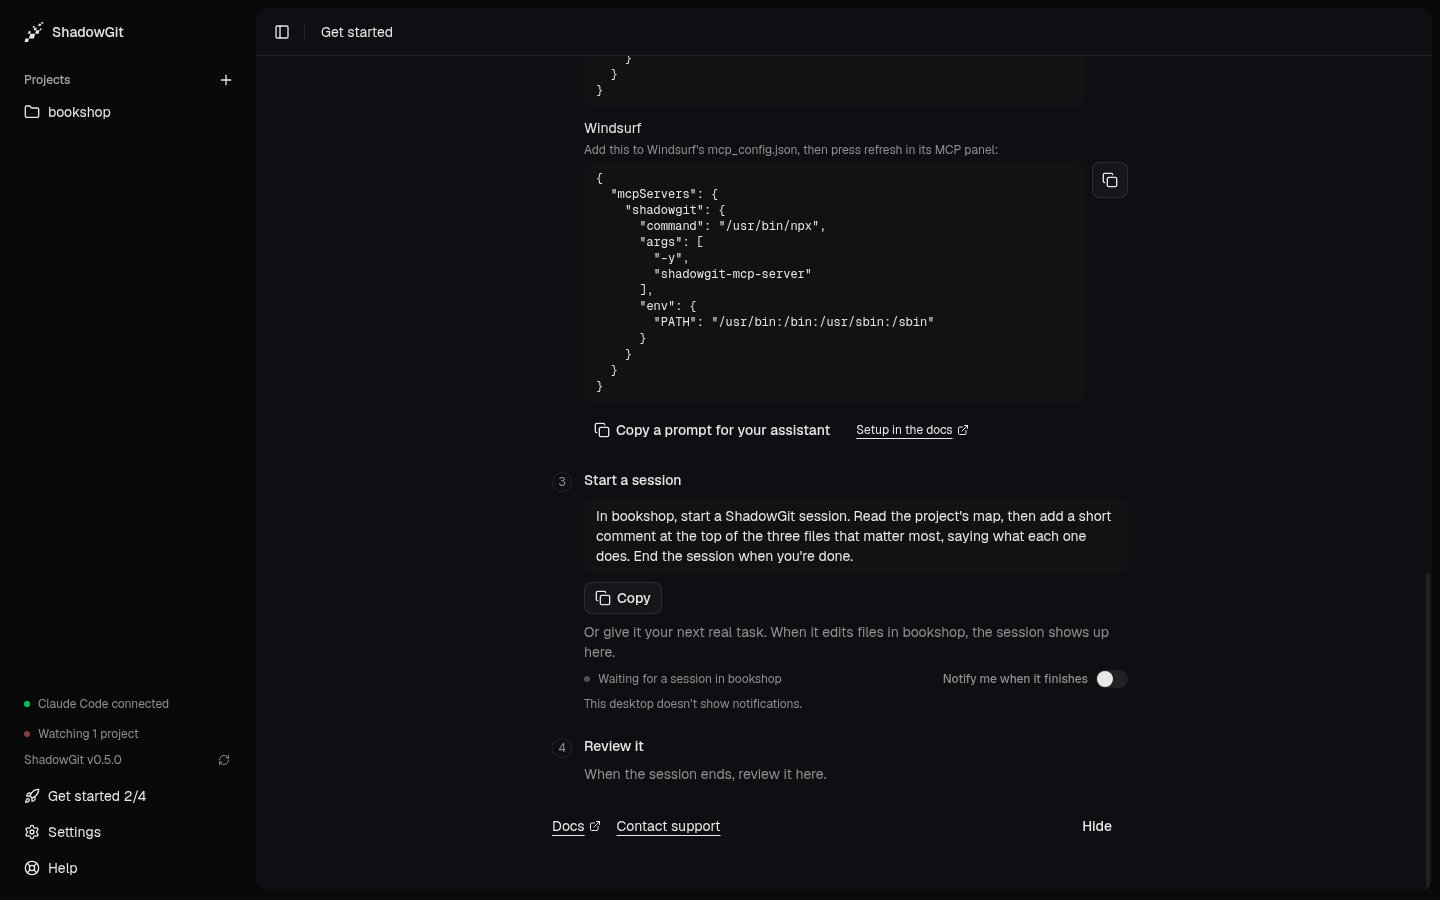
Step 3: the first task, written for your project
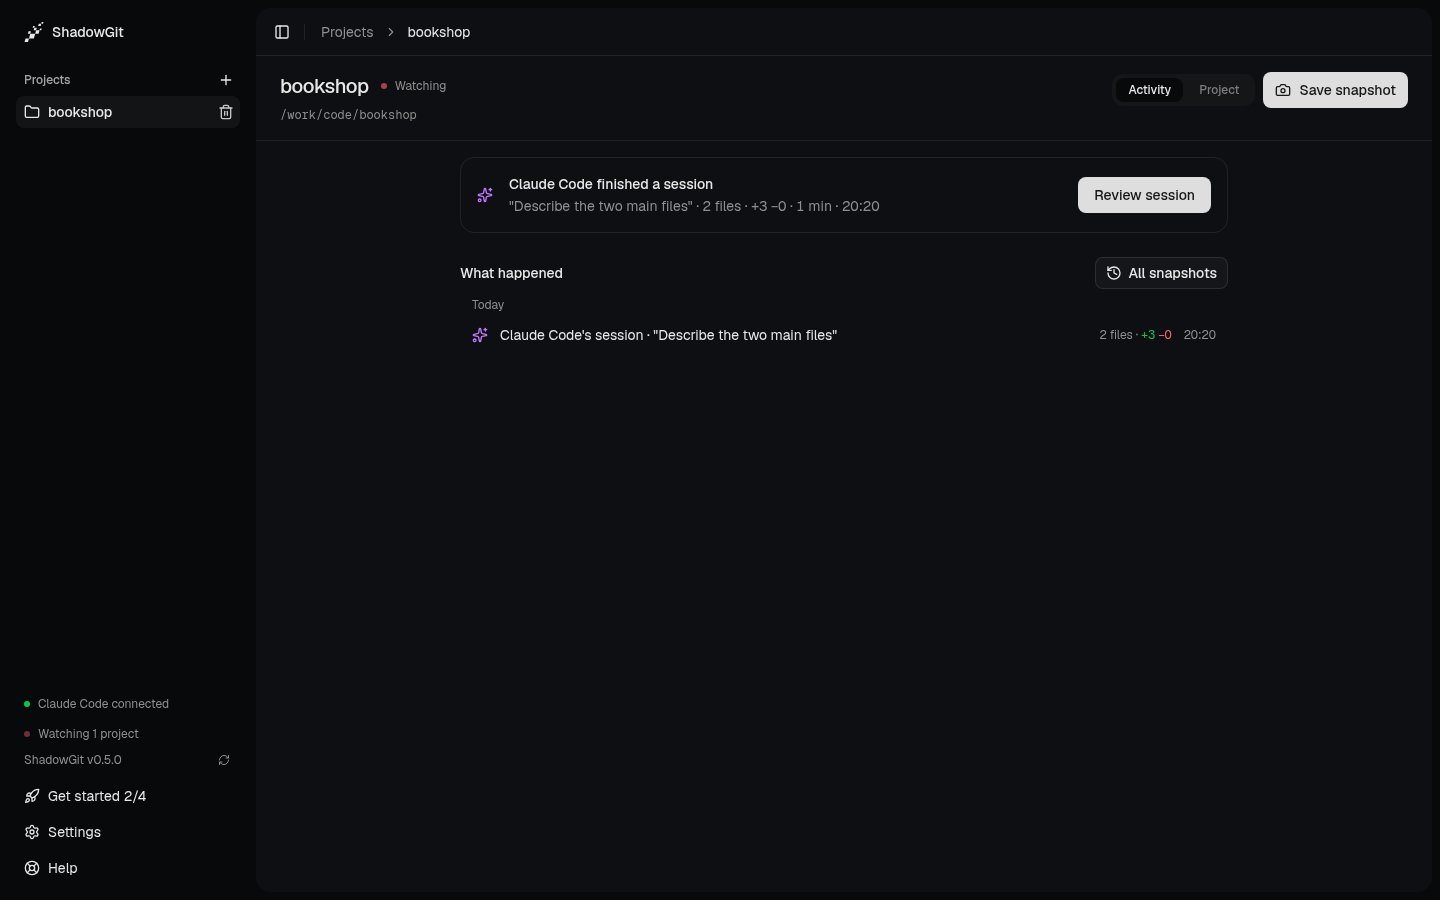
Activity, once the session ends
4. Review it
Click Review session. The first time, a strip above the files says how to review, in three steps that tick as you do them:- Read the Lens: what your assistant changed, step by step, in its own words. Show me opens it.
- Check each file: press
Vto mark a file read and go to the next. - Send comments or mark reviewed.
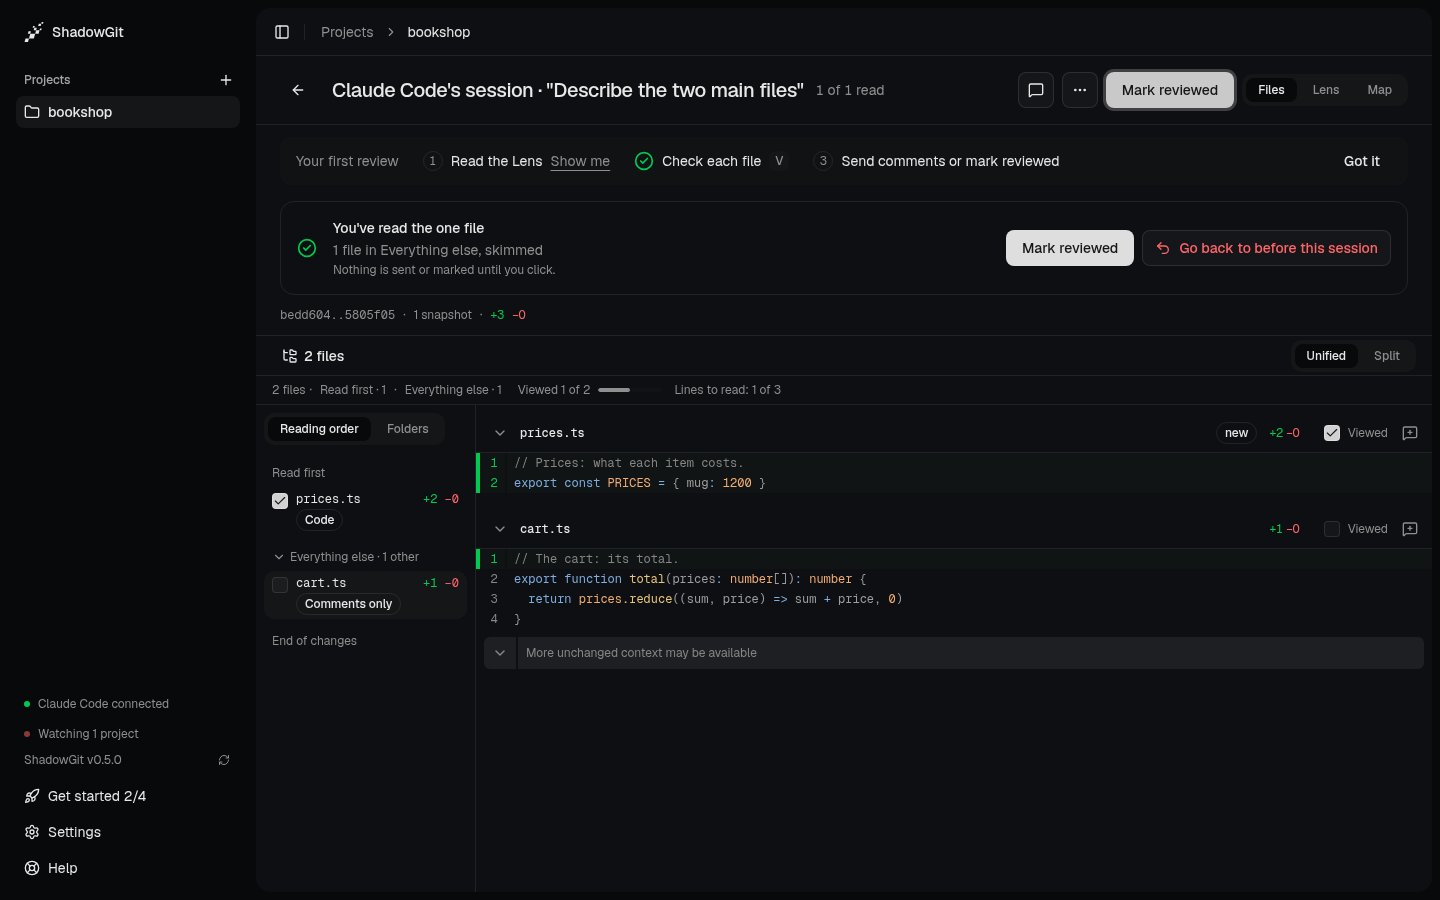
The end of the review: mark it reviewed, or go back
Not ready yet? See an example
See an example opens a finished example project. It’s a small webshop with a day of snapshots, one Claude Code session with its Lens words, a docs page, two review comments (one answered) and a rule. You’ll find it on:- the welcome’s last screen;
- the license page, where it needs no license;
- Get started;
- the empty app;
- Help.
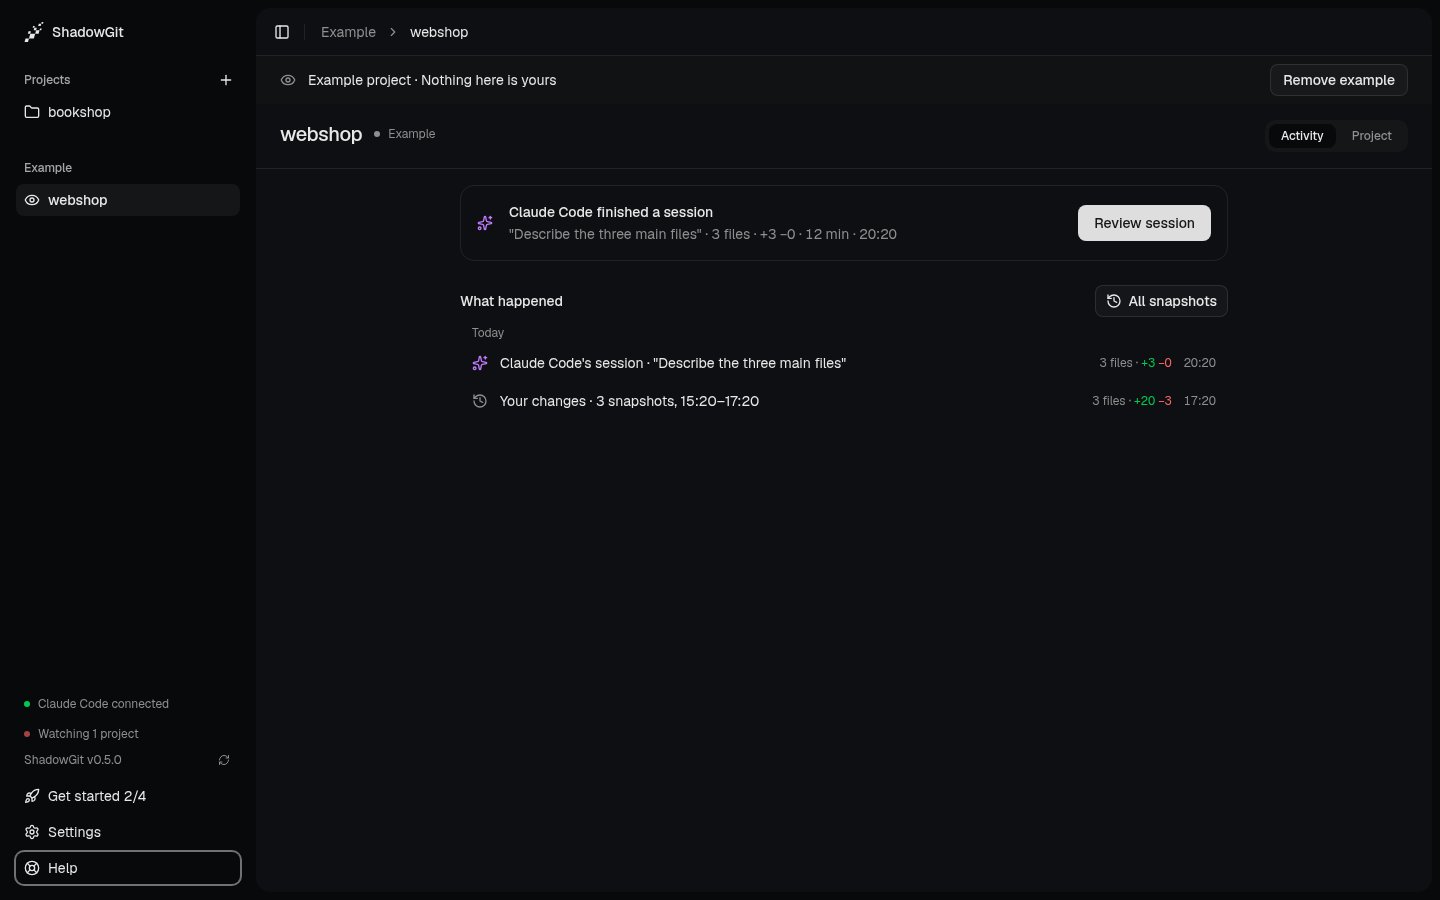
The example project, labelled on every screen